

How To Repair Sprinkle System Pipe
A crack in a PVC sprinkler system will usually consequence in a loss of pressure or in water seeping upward out of the soil. Although repairing a cleft in a PVC sprinkler line is not hard, it does require some excavation and a fiddling flake of searching for the leak. Still, it is something most DIYers can do themselves and salve money in the process. So, use this handy how-to guide to assistance yous larn how to isolate a leak in a PVC sprinkler line and repair it.
Step 1 - Locate the Leak
Before you tin repair your sprinkler organization, you'll first need to isolate the leak. At that place is no easy way to notice the leak; nonetheless, you lot may be able to find it using ane of ii methods. The first is to look for h2o that is seeping upward to the surface of your soil on dry out days (and when sprinkler is non on). This could be an indication that the leak is nearby. Take a shovel and dig down a few inches below the surface of the soil and see if you notice more than water. Another way to find the leak is to look for a point in the sprinkler line where pressure level seems to drop off. A cleft in the line will crusade pressure from that point forrad to be less than the sprinkler heads in the organization that are positioned before the fissure.
Stride two - Dig Down to the Piping
Once you have an thought where the leak is located, begin digging down to the PVC pipe. One time you find the leak, dig out an area about six to 8 inches deep and near one to 1 1/two feet broad around the cracked area of the piping. This will give you enough room to work.
Step 3 - Measure Pipe and Buy Materials
Use the measuring tape to measure the diameter of the PVC pipe. And so, visit your local home improvement center and purchase the same size piping along with a couple of couplers, some PVC primer, and some PVC mucilage.
Step four - Plough Off the Water
Plough off the water to your sprinkler arrangement by switching off the isolation valve or the main water shut off valve in front of your home.
Step five - Cut the Pipe
Take the hack saw and cut the PVC pipe in the area with the crevice. Try to avoid cutting out too much pipe if possible. If the crack is relatively small, cutting a small i or two-inch section may suffice. However, if the crack is longer, merely cut out as much pipe as is needed.
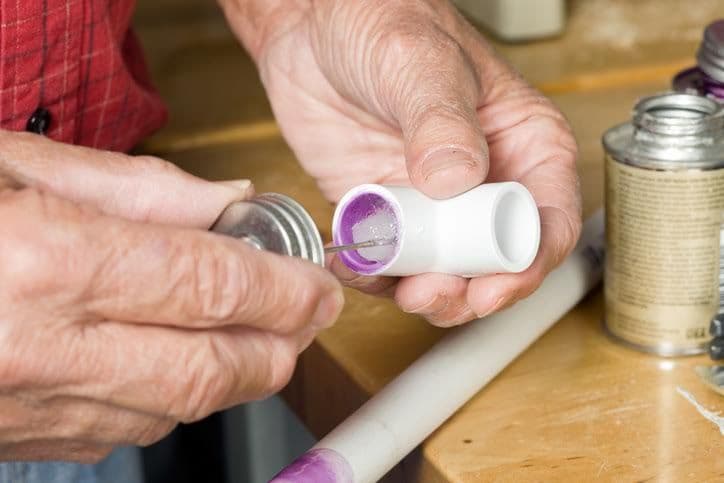
Step 6 - Install Pipe and/or Couplers

At present you need to cut a new piece of PVC piping or install a coupler (depending on the length of the scissure). Cleanup sawed edges with a slice of sandpaper and use PVC primer to the edges and the inside of the coupler. Connect the pieces with PVC glue.
Step vii - Embrace the Pipe
In one case you have connected the PVC pipe, give it a few hours to dry and gear up. Then, cover the pipe once more with dirt and turn the water dorsum on. Your PVC sprinkler organisation should now function properly.

Source: https://assets.doityourself.com/stry/how-to-repair-a-cracked-pvc-sprinkler-system
Posted by: brooksreptit2000.blogspot.com
0 Response to "How To Repair Sprinkle System Pipe"
Post a Comment